



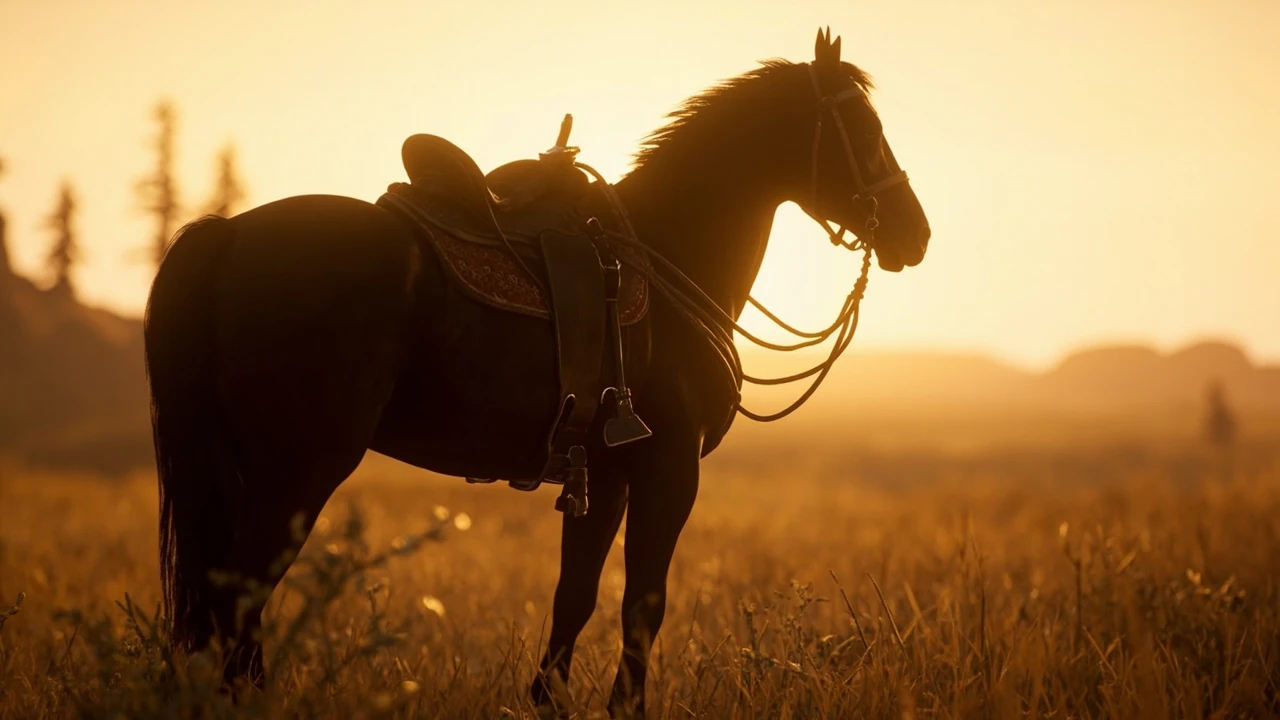

RDR2 best horse: choosing a mount that fits your playstyle
Picking the rdr2 best horse is less about chasing a single “winner” stat and more about matching the mount to the way you actually play Red Dead Redemption 2. A player who spends most sessions roaming the open range, hunting, and exploring wants a different partner than a player focused on shootouts, bounties, or online races. The game’s horse system is designed around stat trade-offs, bonding, and equipment, so the right answer depends on what you value: pure speed, stamina for long rides, health for absorbing gunfire, or the handling needed to dodge wolves and lawmen on a twisting trail.
How horse stats actually work in Red Dead Redemption 2
Every horse in the game is defined by a small set of stats, and reading them correctly is the difference between a mount that feels like a partner and one that lets you down at the worst possible moment. The companion guide stresses that these numbers matter because fast travel is heavily restricted even after it unlocks, so you spend a surprising amount of the campaign in the saddle.
To check your current horse’s stats on console, lock onto the horse and press R1 or RB; the stat screen reveals breed, cores, bond level, speed, acceleration, coat, and a value the game calls “handling.” That last term is misleading. Handling does not describe how easily the horse maneuvers, which is governed by bonding. Instead, it indicates the horse’s class: racing, standard, heavy, or elite. Knowing the class tells you roughly what role the breed was tuned for, which is more useful than memorizing one number.
Two related systems drive how a horse feels on a long ride:
- Horse cores: a Health core and a Stamina core that drain from riding, getting shot, or being driven too hard, and refill over time or with specific tonics. A horse with low cores is sluggish, panics easily, and may throw you.
- Bonding: a progression layer that unlocks new abilities, increases loyalty in fights, and extends the range of the “call horse” whistle. Higher bond levels also reduce the chance a horse will panic when predators or gunfire are nearby.
Because cores and bonding scale on top of base stats, two horses with identical numbers can perform very differently in practice. This is one of the most important design lessons RDR2 teaches about mount systems: a slow horse with a maxed bond and full cores will often outperform a faster, more expensive horse that is still at bond level one.
The main horse breeds worth considering
Rather than pick a single “best” mount, it helps to think in terms of breed archetypes. The table below summarizes the categories most players cycle through during a normal playthrough, based on the stat framework described in the verified guide. Use it as a starting point before you commit to one horse for dozens of hours.
| Breed or archetype | Class | Main strengths | Trade-offs | How to obtain |
|---|---|---|---|---|
| White Arabian | Elite / racing | High speed, elite class, agile handling | Slightly lower raw stats than the paid Arabians, harder to tame | Tame near the western bank of Lake Isabella, way north of the main map |
| Black / Rose Grey Bay Arabian (paid) | Elite / racing | Top-tier stats among Arabians, easier acquisition | Expensive, only available at specific stables | Saint Denis stable after Chapter 4, or an Epilogue stable |
| Turkoman | Elite / war | Strong blend of speed, acceleration, and health; great in combat | Less agile than an Arabian, more expensive than most standard breeds | High-tier stable purchase or breeding |
| Missouri Fox Trotter | Racing | Excellent speed and acceleration, smooth long-distance ride | Lower health than a war horse, so it punishes reckless play | Stable purchase, later chapters |
| Thoroughbred | Racing | Very fast, light build | Low health and stamina, skittish under fire | Stable purchase, sometimes a wild tame in certain regions |
| Ardennes / war horses | Heavy / war | High health, calm under gunfire, useful for combat-heavy players | Slower acceleration, less responsive in tight terrain | Stable purchase; pre-order and special-edition variants also exist |
| Standard breeds (e.g. Tennessee Walker, Kentucky Saddler) | Standard | Affordable, available early, solid for the first half of the game | Capped stats, less room to grow even with max bond | Stables in early chapters, plus the default starter horse |
That table is a map, not a verdict. The companion guide is explicit that the rdr2 best horse is, in a strict sense, the White Arabian if you can tame it, or either of the two paid Arabians if you would rather buy one. Everything else is a question of how much you want to lean into a particular stat profile.
The case for the Arabian as the rdr2 best horse
The verified guide points to the Arabian line as the top tier, and the reasoning is worth unpacking. Arabians sit in the elite class with a racing bias, which means they combine the highest base speed in the game with handling that feels precise in tight terrain. The three variants you will encounter are the wild White Arabian near Lake Isabella, and the two paid Arabians that appear at specific stables after Chapter 4 and in the Epilogue.
Two practical notes matter here:
- The wild White Arabian is the hardest tame in the game. It spawns only under certain conditions, and the area around Lake Isabella is cold, predator-heavy, and far from any fast-travel point until later chapters. Plan for a long ride, a warm outfit, and patience.
- Paid Arabians are not available early. The black and rose grey bay variants unlock only after you reach specific story milestones, so they are not a Chapter 2 option. This is one of the main reasons the guide recommends bonding with your starter horse first and replacing it later rather than rushing to a premium breed.
Once you actually have an Arabian in your stable, the payoff is real. With decent saddle and stirrup combinations, the breed’s elite class means you are rarely outclassed on a long ride, and bonding pushes its already strong stats higher. For a player who wants one mount for the entire campaign, an Arabian is a defensible answer.
When something other than the Arabian makes more sense
Calling the Arabian the rdr2 best horse is correct in a pure stats sense, but the game gives you good reasons to pick a different breed depending on your session habits. Three common cases are worth spelling out.
Combat-heavy playstyle
If you spend most of your time in gunfights, ambushes, and bounty hunts, raw speed matters less than how a horse reacts when bullets start flying. War horses like the Ardennes, the Andalusian, or the Turkoman trade a bit of top-end speed for higher health, calmer temperament under fire, and a heavier frame that absorbs hits. Combined with a maxed bond, they will not throw you as easily when a gang member puts a round into your mount’s flank.
Long-distance exploration and hunting
Exploration players often care more about stamina drain rate and acceleration than the absolute top speed. A Missouri Fox Trotter or a high-tier Turkoman recovers cores faster on long rides and feels less exhausted after a full patrol of the map. Hunting also benefits from a calmer mount that does not spook when you dismount near a predator carcass.
Online races and competitive modes
For Red Dead Online race content, the racing class becomes dominant. Thoroughbreds and Missouri Fox Trotters are tuned for short bursts, sharp turns, and the constant accel-brake rhythm of a checkpoint race. The Arabian still competes here, but its lower base health is a non-issue in races and its agility becomes a real advantage on technical tracks.
Bonding: the stat you cannot buy
The single biggest mistake players make is buying a premium horse and then ignoring bonding. The verified guide treats bonding as essential to getting the best performance out of any mount, and the design reason is clear: bonding increases both the health and stamina bars, improves loyalty in combat, and unlocks new abilities such as rearing. Higher bond levels also extend the range of the “call horse” whistle, which is more useful than it sounds when you are tracking a cougar at dusk and do not want to walk back to camp.
The bond itself is earned through a mix of small interactions that fit naturally into a play session:
- Brushing the horse, especially after riding through mud or snow
- Patting and calming the horse when it is stressed or has just thrown you
- Feeding the horse appropriate items, such as hay, apples, or sugar cubes
- Hitching the horse at the correct hitching post rather than leaving it loose
- Riding for long, continuous stretches without fast-traveling
What makes the question interesting from a design perspective is how Rockstar layered behavior on top of raw numbers. Bonding changes how a horse reacts in combat, how far you can call it, and how calm it stays when you bump into a cougar at night. Tack and stims further modify the underlying stats, so two players with the “same” breed can experience noticeably different rides. The practical answer below is built from verified guidance on the official companion site Red Dead Redemption 2 horse guide, cross-referenced with the broader walkthrough and game-design notes already on this site, so you can make a decision that survives the realities of Chapter 2 through the Epilogue.
Because bonding progresses naturally through ordinary play, the most efficient strategy is to commit to a single horse early and ride it consistently rather than rotating through your stable every chapter. The companion guide’s own advice is to bond with your starter horse for the first half of the game, because base stats are barely different across breeds in that window, and save the cost of a premium mount for when it actually moves the needle.
Tack, tonics, and how to push a horse past its base stats
Base stats tell you what a horse is capable of at bond level four with no equipment, which is not how anyone realistically plays the game. The companion guide notes that horse equipment meaningfully changes performance, and the same theme appears in our Red Dead Redemption 2 walkthrough: progression systems in this game are layered, and equipment is the layer players most often underuse.
Three categories of item matter most:
| Item type | What it does | Why it matters |
|---|---|---|
| Saddles and stirrups | Adds flat bonuses to the horse’s core stats and accelerates core drain recovery | Best single upgrade for long-term mount performance; some combinations are considered top-tier in both Story Mode and Red Dead Online |
| Horse tonics and provisions | Refill horse cores, temporarily boost stamina, or revive a downed horse | Carry at least one Horse Revival tonic to avoid losing a bonded mount in a single bad encounter |
| Outfits and saddlebags | Increase carried weight and protect against weather effects that drain cores | Useful for hunting and trading playstyles where the horse doubles as a mobile inventory |
The companion site maintains a separate best saddles guide for Story Mode and Online, and the takeaway for any player chasing the rdr2 best horse experience is the same: a Tier 3 saddle with the right stirrup combination can outweigh several points of base stat difference between breeds. If you are choosing between an Arabian and a Turkoman and one of them already has a strong saddle equipped, that is often the deciding factor.
Stables, ownership, and the “lost horse” trap
Stables are the horse management layer in Red Dead Redemption 2, and the guide is unusually blunt that they are unintuitive. Several systems interact in ways that are easy to misunderstand, and a few of them can permanently cost you a horse you thought you had.
The practical rules, drawn directly from the verified guide, are:
- Stables unlock only after Chapter 2. Any wild horse you tame before then cannot be stored and will eventually be lost.
- If a horse dies, you can replace it for free only from the stable where it was originally stored, and only from that stable. This makes your first stable choice meaningful, because a horse lost in the wilderness is not freely recoverable from a different town.
- You can own or store up to four horses per stable. Stables are not the same inventory; what you buy in Valentine is not visible in Strawberry.
- Wild and stolen horses can be excellent. Some wild horses have fantastic stats, and theft, while a criminal offense, is a real option if you do not mind the bounty.
The reason this matters for choosing the rdr2 best horse is that upgrading to a premium breed is not just a question of money. You also need a stable you visit often, a slot free in that stable, and a way to bring the new horse there without losing your current one. Players who swap mounts in the middle of a chapter often find that their previous horse has wandered off the map by the time they return.
Choosing the rdr2 best horse for a new playthrough
Putting the pieces together, the decision tree for a typical new player is more structured than it first appears. The following sequence works for most playthroughs without forcing the player into an awkward early grind.
- Start with the default horse and bond it through Chapter 2. The starter horse is statistically close to other standard breeds in the first half of the game, and bonding progress is transfer-friendly if you later switch mounts.
- Unlock stables and pick one home stable. Most players find the Valentine or Strawberry stable easiest to reach, but any stable works as long as you return to it consistently.
- Replace the starter horse after Chapter 4 with an Arabian or Turkoman. At this point paid Arabians unlock, and the stat gap to standard breeds starts to matter on long rides.
- Invest in a Tier 3 saddle and matching stirrups. This is the highest-leverage upgrade available and lasts for the rest of the campaign.
- Keep a Horse Revival tonic on the saddle at all times. It is cheap insurance against losing a fully bonded mount to one unlucky ambush.
By the Epilogue, most players will have one main horse and one or two stored backups. That structure is the one the game itself is tuned around, and it is the structure the verified guide recommends in spirit if not in those exact words.
Common mistakes when chasing the rdr2 best horse
Most frustration with horses in Red Dead Redemption 2 comes from a small set of recurring mistakes. Each of them is easy to fix once you know what the system is doing under the hood.
- Buying a premium horse before stables unlock. Without stable access, the horse is effectively a temporary mount and can be lost.
- Ignoring bonding. A maxed-bond standard horse outperforms a low-bond elite horse in most realistic combat and exploration scenarios.
- Relying on speed over health. Top speed is the most visible stat on the screen, but health and stamina are what keep you alive on a long ride through predator territory.
- Forgetting cores. Riding with low cores makes a horse sluggish and more likely to throw you, no matter how good its base stats are.
- Storing horses at multiple stables. Because stables are not linked in the way players expect, you can lose access to a mount simply by forgetting which town it lives in.
None of these are bugs. They are intentional design choices that reward a deliberate, long-term relationship with a single horse rather than constant swapping. Recognizing that turns horse management from a chore into one of the quieter satisfactions of the campaign.
How the horse system compares to other Rockstar designs
From a game design perspective, the horse system is a useful case study in layered progression. The same layered approach shows up in other Rockstar titles and in the broader walkthroughs we have published, including our FF9 walkthrough, where party members combine base stats with equipment and ability progression in a similar way. The shared pattern is that base numbers matter less than the player’s commitment to the system around them.
For developers studying RDR2, three design observations stand out:
- Stats are classes, not scores. Calling a value “handling” but using it to indicate racing vs. standard vs. heavy vs. elite is a smart way to communicate role without spelling it out.
- Bonding is a progression layer with no UI currency. It advances through play, not through spending, which keeps low-level players competitive with high-level ones.
- Failure is recoverable but costly. Replacing a dead horse is free from the right stable, but you lose all bonding progress, which is a real penalty without being punitive.
These choices make the horse system feel less like a menu and more like a relationship, which is consistent with the rest of the game’s tone.
Final recommendation
If you want a single answer: the rdr2 best horse for most players is the Arabian line, with the White Arabian as the free-but-difficult option and the paid Arabians as the reliable alternatives once stables and story progression allow them. That recommendation is consistent with the verified companion guide, and it is defensible across both Story Mode and most online activities.
That said, the rdr2 best horse is ultimately the one you ride most, bond with, and equip well. A max-bonded Ardennes with a Tier 3 saddle and a calm rider will outperform a poorly bonded Arabian in almost any scenario. Pick a breed that fits how you actually play, commit to it, invest in tack, and treat bonding as a core part of the progression. That combination is what the rest of the system has been quietly rewarding since Chapter 1.
Frequently asked questions
Is the White Arabian really the rdr2 best horse?
The verified companion guide points to the White Arabian as the best overall horse, with the two paid Arabians as close alternatives. Its elite racing class gives it top-tier speed and agile handling, though its stats are slightly lower than the paid Arabians. The trade-off is that the White Arabian is the hardest tame in the game, located near Lake Isabella in a cold, predator-heavy region with no nearby fast travel early on.
When can I buy an Arabian in Red Dead Redemption 2?
Paid Arabians are not available early in the campaign. One becomes purchasable at the Saint Denis stable after Chapter 4, and another is available at an Epilogue stable. If you want an Arabian before then, your only option is to tame the White Arabian in the wild, which is possible from Chapter 2 but difficult to do safely.
Is the Turkoman better than the Arabian?
Neither breed is strictly better. The Turkoman is an elite war horse with a stronger balance of speed, acceleration, and health, which makes it more forgiving in combat and on long rides. The Arabian has higher top speed and more agile handling, which is preferable for racing and tight exploration. The choice depends on whether you value health or peak speed more.
Does bonding really matter that much?
Yes. Bonding increases health and stamina, improves loyalty in combat, reduces the chance a horse panics under fire, and extends the range of the “call horse” ability. A high-bond standard horse often outperforms a low-bond elite horse in practice, which is why the companion guide recommends bonding your starter horse first rather than rushing to buy a premium breed.
Can I keep multiple horses at the same stable?
You can own or store up to four horses per stable. Stables are not linked, so a horse stored in Valentine is not visible from Strawberry. Choosing a home stable early and keeping your main mount there is the simplest way to avoid losing access to a horse.
What happens if my horse dies?
If a horse dies, you can replace it for free, but only from the stable where it was originally stored. Bonding progress is lost, and you start from scratch with the replacement. Carrying at least one Horse Revival tonic and keeping your horse out of the most dangerous hot zones is the easiest way to avoid this.
Should I buy a premium horse in Chapter 2?
It is not recommended. Stables are not unlocked until after Chapter 2, so any horse you buy or tame before then cannot be stored. Base stats are also barely different between breeds in the first half of the game, so bonding your starter horse and saving money for a saddle and other upgrades is a more efficient path.
What is the best saddle for the rdr2 best horse?
The companion site maintains a separate best saddles guide for Story Mode and Online, and the general consensus is that a Tier 3 saddle with the matching stirrup combination provides the largest single stat boost you can give a horse. Specific saddle rankings depend on playstyle, so the right answer is the highest-tier saddle you can afford once you unlock stable access.
Are wild horses worth taming?
Yes, especially the White Arabian. Wild horses sometimes have fantastic stats and can be stored once stables unlock. Taming is more involved than buying from a stable, but it is a free way to get an elite-class horse without spending money.
Does horse choice matter in Red Dead Online?
Horse choice matters in Online in the same way it does in Story Mode, with the addition that competitive modes like races reward racing-class breeds more heavily, while PvE and bounty content often favor war horses with higher health. The companion guide’s stat framework applies in both modes, so the same breed priorities hold with a few mode-specific tweaks.
Leave a Reply